


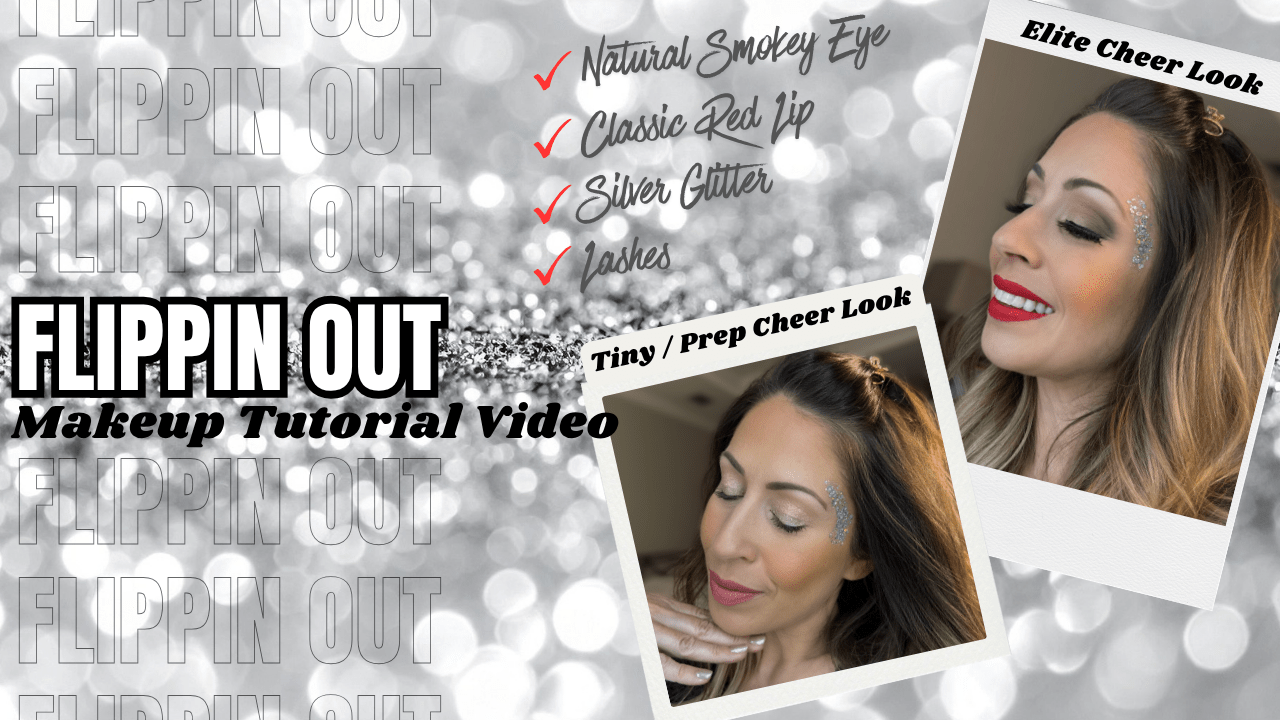

Flippin Out Cheer Makeup Tutorial – Tiny, Prep and Elite Looks
This routine was created for Flippin Out in Texas and includes two complete cheer makeup looks: a simple shimmer look for Tiny and Prep athletes, and a neutral smokey eye look for Elite. Both are designed for competition days and work well for cheerleaders and their moms who want clear steps and long-wearing color.
WATCH THE VIDEO HERE
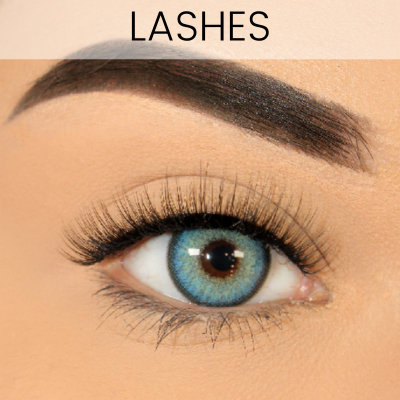
WATCH MAGNETIC LASH APPLICATION TUTORIAL HERE!
If you’ll be wearing magnetic lashes, watch the separate lash tutorial below.
Tiny and Prep Cheer Look
The Tiny and Prep Cheer Look keeps things light and fun with soft shimmer on the eyes, a little glitter on the temples, and a natural pink lip color.
Step 1: Shimmer Gel on the Eyes
Start by adding a little sparkle to the eyes with Shimmer Gel. Use a Q-tip to pick up a tiny amount of product. A small amount is enough, so you do not need much.
Unload the shimmer gel onto the back of your hand and use your fingertip to swirl it into the skin. Then dab it onto the eyelid from the inner corner to the outer corner. You can also use a foam applicator to apply it on the eyelid.
This product has a lotion-like consistency, so work it into the skin using a gentle dabbing and wiping motion. If you add too much product it may not dry well, so keep the layer light.
Step 2: Mascara
Next, add mascara to bring out the lashes and give them some length. Two coats work nicely for this look.
Step 3: Silver Mega Glitter
Now it is time for Silver Mega Glitter. Use a Q-tip and squeeze a small amount out of the pouch, about a dime size or less. Pick it up on the Q-tip and apply it to the side of the face on the temples.
A small amount goes far, so start with less and add more if needed. Give it about a minute to dry so it stays in place during routines.
Step 4: Lips
Finish the Tiny and Prep look with a natural pink lip color of your choice. Apply it evenly and keep it comfortable for young athletes.
That completes the Tiny and Prep Cheer Look for Flippin Out.
Elite Cheer Look
The Elite Cheer Look uses neutral tones, a soft smokey shape, optional magnetic lashes, and a matte lip that stays put for competition days.
Step 1: Eye Prep
Start by prepping your eyes. Apply a thin layer of primer across the eyelid to help lock in the eyeshadow and keep it smooth.
Dust a little loose setting powder under the eyes. This helps catch any fallout and makes cleanup easier later.
Step 2: Base and Crease
Begin the eyeshadow by using the cream color eyeshadow and a fluffy brush to sweep it across the eyelid for a smooth base color.
Next, use the medium brown eyeshadow. With a dome-shaped brush, press it into the crease. Then switch to a fluffy brush and blend the color through the crease to soften it lightly.
Step 3: Outer Corner and Shimmer
Now add the black eyeshadow. Using the dome brush again, press the color into the outer corner of the eye in a V shape.
For a sharper line on the smokey edge, you can line up your finger from the outer corner of the eye to the outer edge of the eyebrow. This helps keep the lines clean as you press the eyeshadow into the outer corner.
Switch to the fluffy eyeshadow brush and lightly blend the outer corner into the crease and toward the center of the lid so the colors connect softly.
Next, pick up the brown shimmer eyeshadow and use your fingertip to pat the color over the V shape in the outer corner and slightly toward the middle of the lid. Use the fluffy eyeshadow brush to blend it lightly.
Step 4: Brighten the Inner Lid
Go back to the cream eyeshadow to brighten the inner eye. This time, use your fingertip to pat the color onto the inner and middle lid. Then take the fluffy brush one more time and blend softly across the lid so all the shades meet without harsh lines.
Step 5: Mascara and Cleanup
Once your eyeshadow is finished, add mascara to your lashes. Two coats give extra volume and help the eyes stand out on the mat.
If you used loose powder under the eyes, sweep it away along with any fallout for a clean under-eye area.
Step 6: Magnetic Lashes (Optional)
If you are wearing lashes, this is the time to apply them. There is a full tutorial video on magnetic lashes, but here are the basics used in this look.
First, apply eyeliner. This is optional, but it gives a guide for where to place the magnetic eyeliner.
Next, add liquid magnetic liner directly over the eyeliner from the last step. Apply two coats of magnetic liner for a strong hold.
Place the magnetic lashes directly onto the magnetic liner. Press the lashes gently so all the magnets connect well with the liner.
Step 7: Lips
Now move to the lips. Use a makeup wipe to clean your lips so there is no oil, balm, or makeup left on them.
Grab your matte liquid lipstick. Line the lips first, then fill them in using a thin coat. Let it dry completely so it stays in place and does not smudge during practice or performances.
Allow the color to dry for a minute or two so it does not budge. To keep this lip color transfer proof, avoid chapstick, lip balm, or lip gloss underneath or on top. Leave the finish dry and matte.
Step 8: Mega Glitter
The final step for the Elite look is Mega Glitter. Take a Q-tip and squeeze a small amount out of the pouch, about a dime size or less. Pick it up on the Q-tip and apply it to the outer eye area.
A small amount is enough, and you can always add more if you want extra shine. Give it about a minute to dry.
Finished Elite Cheer Look
That is the completed Elite Cheer Look for Flippin Out. It is designed to stand out under bright lights while staying comfortable for athletes through all their routines. Sending good vibes for all your comps this season.
More From Glam Game Beauty
For more cheer makeup tutorials, custom team kits, and performance-focused products, visit glamgamebeauty.com and follow @glamgamebeauty on Instagram, Facebook, Twitter, Pinterest, TikTok, and YouTube.


Leave a comment (all fields required)