Brow Lamination for Beginners: A Step-by-Step Guide for DIY Kits
Eyebrows have the power to frame your face and accentuate your features, making them an essential aspect of any beauty routine. Today, we're diving deep into the world of brow lamination – a trend that’s taking the beauty world by storm. From those seeking a natural uplift to the ones craving that sleek, glossy look, brow lamination is a versatile technique that caters to all.
What is Brow Lamination?
Brow lamination is essentially a perm for your eyebrows, designed to give them a fuller, more uniform look. It's an excellent solution for those dealing with sparse, unruly, or just generally hard-to-manage brows. This technique restructures the brow hairs, keeping them in their desired position for an extended period.
Why Try DIY Brow Lamination?
While professional treatments are fantastic, DIY brow lamination is an affordable, accessible alternative that allows you the freedom to experiment and perfect your look from the comfort of your home.
Step 1: Preparation
Start with a clean base. Use a gentle cleansing solution to remove any oils, makeup, or dirt. This step ensures that the products you'll be using adhere properly to your brow hairs.
Step 2: Applying the Glue
The glue is not your typical household glue, but a safe, skin-friendly adhesive. Apply it along your brows in the direction you wish them to set. This step is crucial for shaping the final look.
Step 3: Brushing Upwards
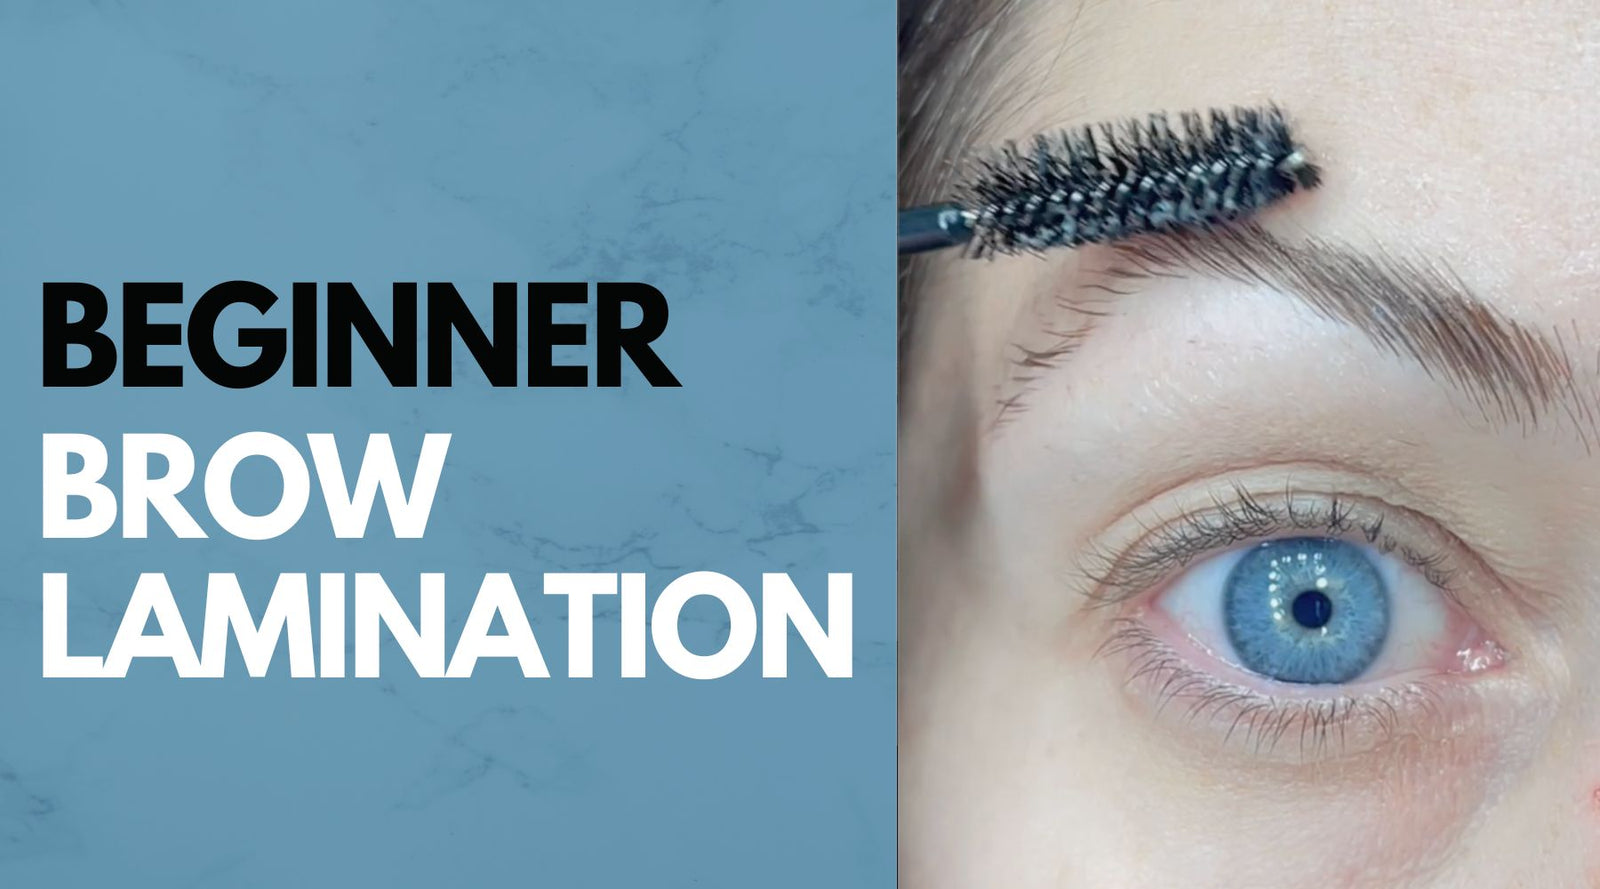
With a spoolie brush, comb your brows upward. This step helps achieve that full, feathered look that's highly sought after in the beauty community.
Step 4: The Perming Solution
Once your brows are brushed and glued, apply the perming lotion. This solution breaks down the protein bonds in the hairs, allowing them to move into the new shape. Cover your brows with plastic wrap for about 10 minutes to let the solution work its magic.
Step 5: Setting the Shape
After the perming solution, it’s time for the fixation lotion. This solution sets the hairs in their new position. Again, cover with plastic wrap for another 10 minutes.
Step 6: The Finishing Touches
Once you’ve achieved the desired shape, it’s time to trim and refine your brows. Use a straight razor or a small pair of brow scissors to carefully trim any excess length and create a clean, defined shape.
Step 7: Nourishment and Aftercare
Post-lamination, it’s essential to nourish your brows. Apply a nutrition lotion or oil to your brows and the surrounding skin. This step helps to soothe any redness and provide moisture to the treated area.
Results and Reflections
After completing the process, which took about 45 minutes on my first try, the results were impressive. My brows appeared fuller, neater, and perfectly aligned. The slight redness experienced was a small price to pay for the stunning outcome.
Tips for Beginners
- Take your time: Don’t rush the process, especially if you’re new to this.
- Follow instructions carefully: Each step is crucial for achieving the best results.
- Practice makes perfect: Don’t be discouraged if your first attempt isn’t flawless.
Frequently Asked Questions
- How long does brow lamination last? Typically, brow lamination can last up to 6 weeks, depending on your hair type and how well you maintain it.
- Is brow lamination safe? Yes, when done correctly with safe, tested products, brow lamination is a safe procedure. However, always do a patch test first to check for any allergic reactions.
- Can I wear makeup after brow lamination? It's advisable to avoid applying makeup or getting your brows wet for at least 24 hours post-treatment.
Final Thoughts
Brow lamination is a fantastic way to elevate your look with minimal effort. Whether you’re a beauty enthusiast or a newbie, this technique is definitely worth trying. Remember, beauty is about feeling confident in your own skin, and a great pair of brows can be just the ticket!
Connect With Us
Have you tried brow lamination before? Share your experiences and tips in the comments below. And for more beauty insights, follow us on Instagram, Facebook, Twitter, Pinterest, TikTok, and YouTube: @glamgamebeauty.

